Guide
1 Page
Preview
Page 1
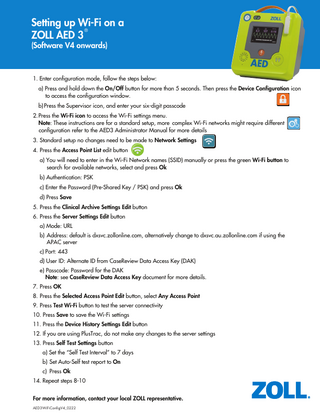
Setting up Wi-Fi on a ® ZOLL AED 3 (Software V4 onwards)
1. Enter configuration mode, follow the steps below: a) Press and hold down the On/Off button for more than 5 seconds. Then press the Device Configuration icon to access the configuration window. b) Press the Supervisor icon, and enter your six-digit passcode 2. Press the Wi-Fi icon to access the Wi-Fi settings menu. Note: These instructions are for a standard setup, more complex Wi-Fi networks might require different configuration refer to the AED3 Administrator Manual for more details 3. Standard setup no changes need to be made to Network Settings 4. Press the Access Point List edit button a) You will need to enter in the Wi-Fi Network names (SSID) manually or press the green Wi-Fi button to search for available networks, select and press Ok b) Authentication: PSK c) Enter the Password (Pre-Shared Key / PSK) and press Ok d) Press Save 5. Press the Clinical Archive Settings Edit button 6. Press the Server Settings Edit button a) Mode: URL b) Address: default is dxsvc.zollonline.com, alternatively change to dxsvc.au.zollonline.com if using the APAC server c) Port: 443 d) User ID: Alternate ID from CaseReview Data Access Key (DAK) e) Passcode: Password for the DAK Note: see CaseReview Data Access Key document for more details. 7. Press OK 8. Press the Selected Access Point Edit button, select Any Access Point 9. Press Test Wi-Fi button to test the server connectivity 10. Press Save to save the Wi-Fi settings 11. Press the Device History Settings Edit button 12. If you are using PlusTrac, do not make any changes to the server settings 13. Press Self Test Settings button a) Set the “Self Test Interval” to 7 days b) Set Auto-Self test report to On c) Press Ok 14. Repeat steps 8-10 For more information, contact your local ZOLL representative. AED3WiFiConfigV4_0222
1