Guide
1 Page

Preview
Page 1
Setting up Wi-Fi on a ZOLL R Series ®
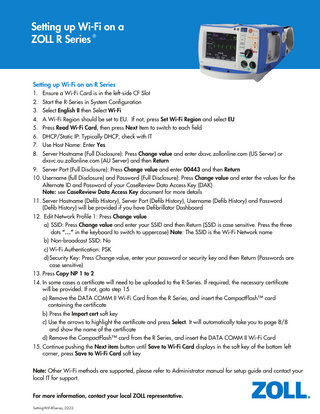
Setting up Wi-Fi on an R Series 1. 2. 3. 4. 5. 6. 7. 8.
Ensure a Wi-Fi Card is in the left-side CF Slot Start the R-Series in System Configuration Select English II then Select Wi-Fi A Wi-Fi Region should be set to EU. If not, press Set Wi-Fi Region and select EU Press Read Wi-Fi Card, then press Next Item to switch to each field DHCP/Static IP: Typically DHCP, check with IT Use Host Name: Enter Yes Server Hostname (Full Disclosure): Press Change value and enter dxsvc.zollonline.com (US Server) or dxsvc.au.zollonline.com (AU Server) and then Return 9. Server Port (Full Disclosure): Press Change value and enter 00443 and then Return 10. Username (full Disclosure) and Password (Full Disclosure): Press Change value and enter the values for the Alternate ID and Password of your CaseReview Data Access Key (DAK) Note: see CaseReview Data Access Key document for more details 11. Server Hostname (Defib History), Server Port (Defib History), Username (Defib History) and Password (Defib History) will be provided if you have Defibrillator Dashboard 12. Edit Network Profile 1: Press Change value a) SSID: Press Change value and enter your SSID and then Return (SSID is case sensitive. Press the three dots “…” in the keyboard to switch to uppercase) Note: The SSID is the Wi-Fi Network name b) Non-broadcast SSID: No c) Wi-Fi Authentication: PSK d) Security Key: Press Change value, enter your password or security key and then Return (Passwords are case sensitive) 13. Press Copy NP 1 to 2 14. In some cases a certificate will need to be uploaded to the R-Series. If required, the necessary certificate will be provided. If not, goto step 15 a) Remove the DATA COMM II Wi-Fi Card from the R Series, and insert the CompactFlash™ card containing the certificate b) Press the Import cert soft key c) Use the arrows to highlight the certificate and press Select. It will automatically take you to page 8/8 and show the name of the certificate 1 d) Remove the CompactFlash™ card from the R Series, and insert the DATA COMM II Wi-Fi Card 15. Continue pushing the Next item button until Save to Wi-Fi Card displays in the soft key of the bottom left corner, press Save to Wi-Fi Card soft key Note: Other Wi-Fi methods are supported, please refer to Administrator manual for setup guide and contact your local IT for support. For more information, contact your local ZOLL representative. SettingWiFiRSeries_0222